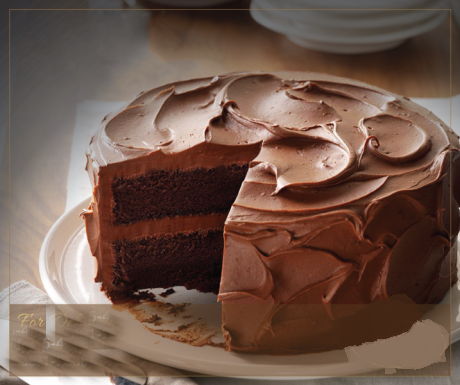
I still remember the first time I pulled a tall, glossy brown chocolate cake from my oven on a rainy Sunday afternoon. The house filled with that rich, almost earthy cocoa aroma, and my kids hovered like little detectives, begging for a slice before it even cooled. That moment hooked me on perfecting what I now call my signature brown chocolate cake—a deeply colored, incredibly moist layer cake that feels like a warm hug in dessert form. If you’ve ever craved a chocolate cake that’s not just sweet but intensely flavorful with a tender crumb that melts on your tongue, you’re in the right place. This from-scratch recipe delivers every time, whether you’re baking for a birthday, holiday, or just because.
The Allure of Brown Chocolate Cake: Why This Recipe Stands Out
Brown chocolate cake isn’t some fancy new trend—it’s the classic chocolate cake elevated with thoughtful ingredients that create its signature deep brown hue and fudgy texture. Unlike lighter or red-tinted versions, this one leans into natural cocoa depth and brown sugar for caramel undertones that make every bite satisfying without being cloying. I’ve tested dozens of recipes over the years, and this one consistently wins for its balance of richness and lightness. It’s the kind of cake that disappears fast at any gathering, leaving everyone asking for the secret.
Understanding What Makes a Cake “Brown Chocolate”
The term “brown chocolate cake” simply highlights the beautiful mahogany-brown color that comes from blooming cocoa in hot liquid and using dark brown sugar. It sets it apart from pale vanilla cakes or overly red velvet styles, focusing purely on chocolate intensity. In my kitchen, I treat it as the everyday hero dessert—reliable, crowd-pleasing, and endlessly customizable. No artificial colors or complicated steps; just honest baking that tastes like it came from a high-end bakery.
A Brief History of Chocolate Cakes and the Brown Variety
Chocolate cakes as we know them didn’t appear until the late 1800s, when American home cooks first stirred cocoa powder straight into batter rather than just using it for frosting or drinks. Before that, chocolate was mostly a luxury import enjoyed in beverages. The shift happened around 1886, and by the early 20th century, moist, brown-toned cakes became staples in U.S. cookbooks. I love digging into old recipes because they remind me how simple pantry staples created something timeless.
Origins in American Kitchens
Early versions, sometimes called mahogany cake for their reddish-brown tint from baking soda reacting with cocoa, relied on basic ingredients like flour, sugar, and cocoa. No fancy mixes back then—just real food that rose beautifully. My grandmother’s handwritten notes from the 1950s echo this approach, and I’ve adapted those ideas into today’s version. It feels like carrying forward a sweet family legacy every time I bake one.
Key Ingredients for the Perfect Brown Chocolate Cake
Success starts with quality staples you probably already have. For two 9-inch layers (serves 10-12), you’ll need 1¾ cups all-purpose flour, ¾ cup unsweetened Dutch-process cocoa powder for that deep brown color, 1 cup granulated sugar, 1 cup packed dark brown sugar, 1½ teaspoons baking powder, 1 teaspoon baking soda, ½ teaspoon salt, and 1 teaspoon instant espresso powder (optional but magical for flavor boost). Wet ingredients include 2 large eggs, 1 cup buttermilk, ½ cup neutral oil, 2 teaspoons vanilla extract, and 1 cup hot brewed coffee or water.
Choosing the Right Cocoa Powder
Dutch-process cocoa gives the darkest, smoothest brown shade and mellows any bitterness, which is why I swear by it here. Natural cocoa works too but yields a slightly lighter, more acidic cake. I’ve side-by-side tested both, and Dutch-process always delivers the rich, fudgy look people rave about. Skip cheap brands—invest in one with at least 20% cocoa butter for real depth.
Natural vs Dutch Process Cocoa: Which Wins for Brown Color?
Natural cocoa reacts with baking soda for extra lift and a brighter chocolate note, but Dutch-process (alkalized) creates the signature deep brown without that tang. For this recipe, Dutch-process wins hands-down for color and flavor harmony. If you only have natural, add a touch more baking soda and expect a slightly redder hue—like a subtle nod to mahogany cake history.
The Role of Brown Sugar in Flavor and Moisture
Dark brown sugar isn’t just for sweetness; its molasses content adds moisture and a subtle caramel edge that plain white sugar can’t match. I use equal parts brown and white here because the combo prevents the cake from becoming too dense while keeping it ultra-tender. Light brown works in a pinch, but dark brown is my go-to for that irresistible brown chocolate cake vibe.
Step-by-Step Guide to Baking Brown Chocolate Cake
Preheat your oven to 350°F and grease two 9-inch round pans, lining the bottoms with parchment for easy release. I always do this first so nothing gets forgotten mid-mix. Whisk all dry ingredients in a large bowl until evenly combined—no lumps of cocoa allowed, or you’ll end up with streaks.
Preparing Your Ingredients and Workspace
Room-temperature eggs and buttermilk blend smoother and help the cake rise evenly. Measure everything accurately with a scale if possible; baking is part science, part art. I clear my counter completely and line up bowls like a pro chef—it cuts down on stress and mistakes.
Mixing the Dry Ingredients
Sift or whisk the flour, cocoa, sugars, leaveners, salt, and espresso powder together thoroughly. This step aerates the mixture and ensures even chocolate distribution. Trust me, skipping the whisk leads to patchy flavor—every bite should taste like pure brown chocolate bliss.
Combining Wet Ingredients for That Fudgy Texture
In a separate bowl, whisk eggs, buttermilk, oil, and vanilla until smooth, then slowly pour in the hot coffee while stirring. The heat “blooms” the cocoa, unlocking deeper flavor and that signature moist crumb. Pour wet into dry and mix just until combined—overmixing is the enemy of tenderness.
Baking Tips for Even Layers
Divide batter evenly between pans and bake 28-32 minutes, or until a toothpick comes out with a few moist crumbs. Rotate pans halfway for even browning. Let them cool in pans 10 minutes before turning out onto racks. I once rushed this step and ended up with a cracked top—patience pays off.
The Best Frosting Options for Your Brown Chocolate Cake
A silky chocolate buttercream or glossy ganache takes this cake over the top. For buttercream, beat 1 cup softened butter with 3½ cups powdered sugar, ½ cup cocoa, ¼ cup heavy cream, and 1 teaspoon vanilla until fluffy. It pipes beautifully and holds up well.
Classic Chocolate Buttercream Recipe
Start with room-temperature butter for the creamiest texture—no cold chunks allowed. Add cocoa gradually to avoid a dusty mess, then thin with cream until spreadable. I’ve frosted countless cakes this way, and it never fails to draw “wow” reactions at parties.
Ganache for a Glossy Finish
Heat 1 cup heavy cream and pour over 8 ounces chopped dark chocolate. Let sit 5 minutes, then stir smooth. Pour over the cooled cake for a shiny drip effect. It’s my favorite for special occasions because it feels luxurious yet requires zero piping skills.
Common Mistakes to Avoid When Making Brown Chocolate Cake
Even experienced bakers slip up. The biggest culprit is using cold ingredients, which leads to a dense texture. Always bring eggs and buttermilk to room temp first. Another pitfall: opening the oven door too often, causing the cake to sink.
How to Fix a Dry or Dense Cake
If your cake turns out drier than expected, next time add an extra tablespoon of oil or swap in sour cream for part of the buttermilk. A dry cake can still be saved by brushing simple syrup between layers before frosting. I’ve rescued plenty this way—no one ever knew the difference.
Variations and Twists on the Classic Brown Chocolate Cake
Turn this base recipe into something new with simple add-ins. Stir in ½ cup mini chocolate chips or chopped toasted walnuts right before baking for texture contrast. For a boozy version, replace ¼ cup coffee with Irish cream liqueur.
Adding Nuts or Fruits for Extra Crunch
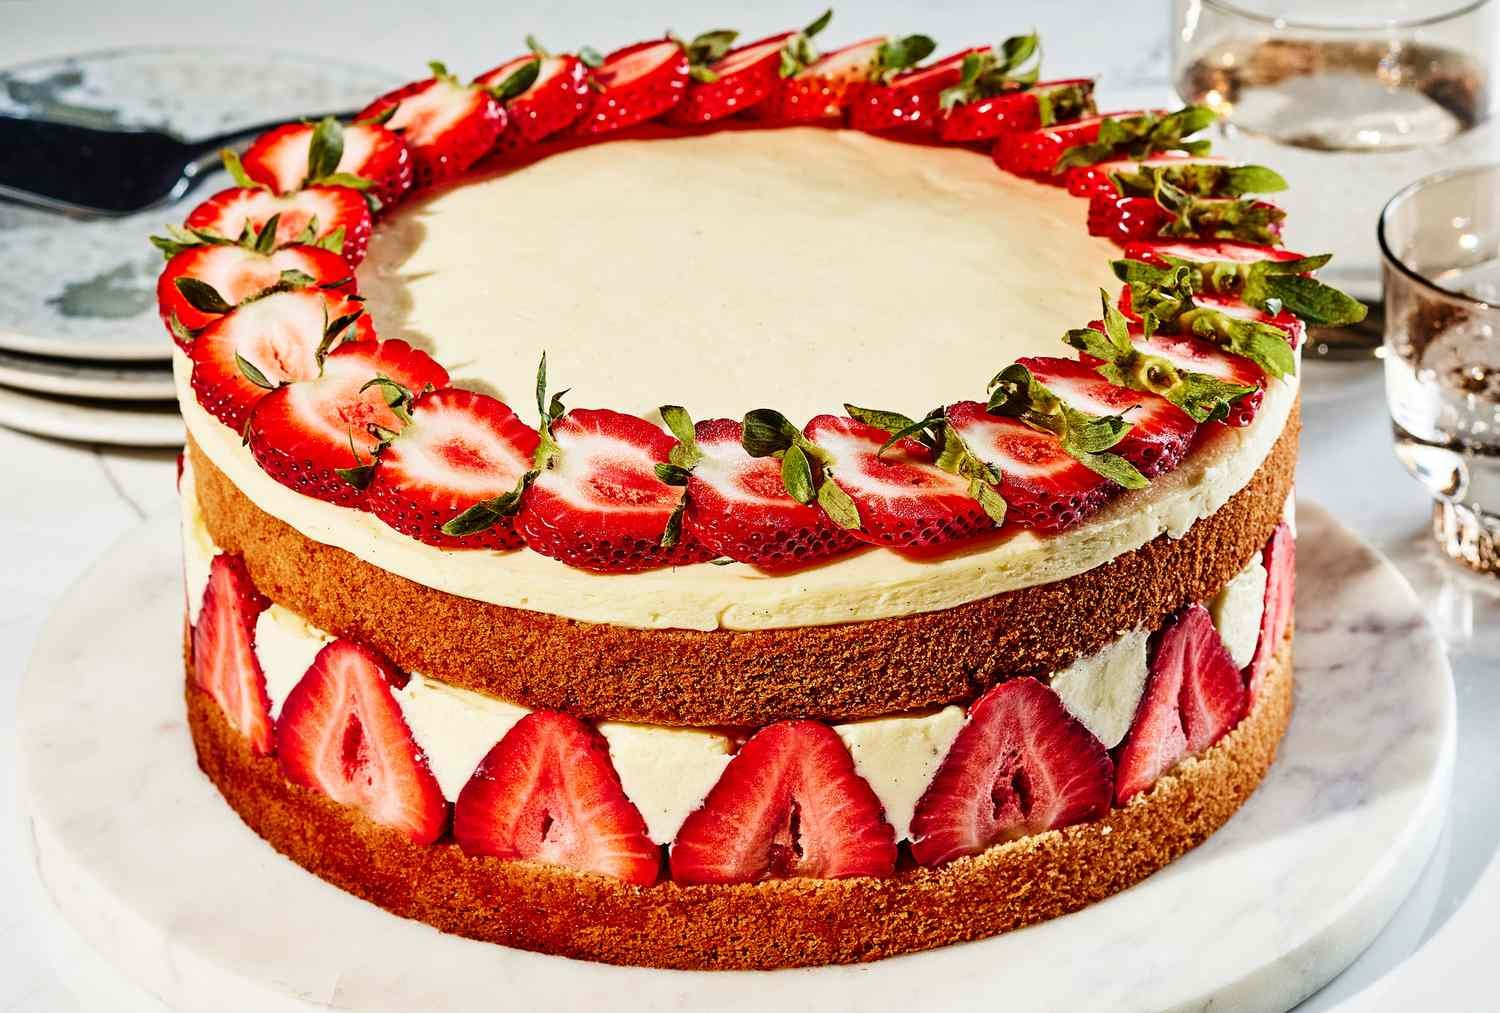
Pecans or hazelnuts bring a lovely nutty note that complements the chocolate without overpowering it. Fresh raspberries folded in gently add bright pops of tartness—perfect for summer birthdays. I once added cherries for a Black Forest twist and it became a family favorite.
Gluten-Free or Vegan Adaptations
Swap flour for a 1:1 gluten-free blend and add ½ teaspoon xanthan gum for structure. For vegan, use flax eggs, plant milk soured with vinegar, and dairy-free chocolate. These versions taste nearly identical to the original, proving this brown chocolate cake is truly adaptable.
Nutritional Information and Health Considerations
One slice (with buttercream) clocks in around 450-500 calories, with 25g fat and 60g carbs—treat it as an occasional indulgence. The dark cocoa provides antioxidants, and using oil instead of all butter keeps it lighter than many traditional recipes.
| Nutrient (per slice) | Amount |
|---|---|
| Calories | 480 |
| Total Fat | 26g |
| Saturated Fat | 12g |
| Carbohydrates | 62g |
| Protein | 6g |
| Fiber | 4g |
Approximate values based on standard ingredients; adjust for variations.
Serving Suggestions and Pairings
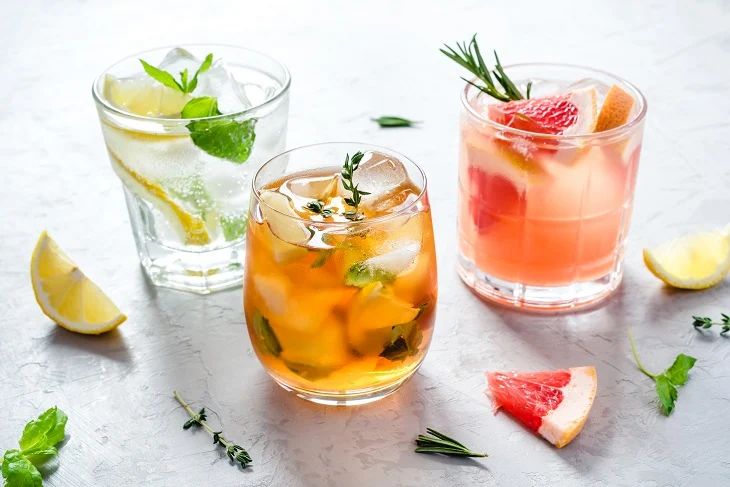
Serve slices slightly warm with a scoop of vanilla ice cream or fresh berries for contrast. A tall glass of cold milk cuts the richness perfectly. For adults, pair with coffee or a glass of red wine—chocolate and wine are old friends.
Perfect Occasions for Brown Chocolate Cake
Birthdays, anniversaries, potlucks, or quiet weeknights all work. I baked one for my daughter’s graduation last year, and it stole the show beside fancy bakery options. It travels well too—just chill it first for clean slices.
Tools and Equipment You’ll Need
Two 9-inch round cake pans, parchment paper, a large mixing bowl, whisk, and offset spatula for frosting. A stand mixer makes buttercream effortless, but a hand mixer works fine. Don’t skip the cooling racks—they prevent soggy bottoms.
Must-Have Baking Tools for Success
- Sturdy cake pans (avoid thin ones that warp)
- Digital scale for precise measuring
- Oven thermometer (most home ovens run hot or cool)
- Cake leveler or serrated knife for even layers
These basics turned my early disasters into reliable wins.
Where to Source Quality Ingredients for Your Cake
Grab Dutch-process cocoa and good vanilla from grocery baking aisles or online—brands like Valrhona or Ghirardelli shine here. Buttermilk is in the dairy section; make your own with milk and lemon juice in a pinch. Espresso powder keeps forever in the pantry.
Pros and Cons of Making Brown Chocolate Cake from Scratch
Pros:
- Superior moist texture and flavor compared to box mixes
- Fully customizable for dietary needs
- Impresses guests without much effort
- Freezes beautifully for make-ahead convenience
Cons:
- Requires 10-15 extra minutes of active time
- Needs accurate measuring to avoid flops
- Uses more bowls than a one-bowl mix
- Can be messy if you’re not organized
Overall, the pros win for anyone who loves real homemade taste.
Comparison: Brown Chocolate Cake vs Other Popular Chocolate Cakes
| Cake Type | Texture | Flavor Profile | Best For | Key Difference from Brown Chocolate Cake |
|---|---|---|---|---|
| Devil’s Food | Light & airy | Tangy, intense | Layered parties | More acidic rise; less molasses depth |
| German Chocolate | Dense & nutty | Coconut-caramel | Holidays | Focuses on filling, not cake itself |
| Flourless Chocolate | Fudgy & rich | Pure chocolate | Gluten-free dinners | No flour; denser and more intense |
| Red Velvet | Velvety & mild | Slight cocoa + tang | Special occasions | Red color from dye or reaction; milder chocolate |
This brown version sits right in the sweet spot—moist yet structured, chocolate-forward without extras.
People Also Ask About Brown Chocolate Cake
What makes chocolate cake brown instead of lighter?
Blooming cocoa in hot coffee or water plus dark brown sugar creates the deep mahogany color naturally—no food coloring needed.
Is brown chocolate cake the same as regular chocolate cake?
Essentially yes, but the “brown” label emphasizes the rich color and use of brown sugar for extra moisture and caramel notes that elevate it.
How do you make brown chocolate cake moist?
Oil, buttermilk, and hot liquid keep the crumb tender. Avoid overbaking and wrap layers tightly once cooled.
Can I use regular cocoa powder?
Yes, but expect a slightly lighter shade and brighter flavor. Dutch-process gives the darkest brown results.
What’s the best frosting for brown chocolate cake?
Chocolate buttercream or ganache both pair perfectly—the cake’s depth stands up to either without clashing.
Frequently Asked Questions
Can I make this brown chocolate cake ahead of time?
Absolutely—bake layers up to two days in advance, wrap tightly, and frost the day of. Or freeze unfrosted layers for up to three months.
Why does the recipe call for hot coffee?
It enhances chocolate flavor without tasting like coffee. Substitute hot water if you prefer, but the boost is noticeable.
How do I store leftover brown chocolate cake?
Cover and keep at room temperature for two days or refrigerate up to five. Bring to room temp before serving for best texture.
Is this recipe suitable for cupcakes?
Yes! It makes about 24 standard cupcakes—bake 18-22 minutes and top with the same frosting.
Can I scale this for a sheet cake?
Double the recipe for a 9×13 pan and bake 35-40 minutes. It’s my go-to for casual crowds.
There you have it—the complete guide to baking the best brown chocolate cake you’ll ever make. I’ve poured years of trial, error, and family celebrations into this recipe, and I hope it brings as much joy to your kitchen as it has to mine. Grab your apron, preheat that oven, and get ready for the compliments to roll in. Your perfect slice of deep, moist chocolate heaven is just a few steps away. Happy baking!


Leave a Reply